| Home | Contents | Start | Prev | 1 | 2 | 3 | 4 | 5 | 6 | 7 | 8 | 9 | Next |
Battery Considerations
The blade cutting motor consumes the majority of the power on the mower, when it is spinning the blade, it draws 1 amp. The drive motors and arduino together draw 200mA so under normal operation, let's assume a 1.5A current drain. If the blade were to stall or hit a large clump of long grass, its current consumption would increase dramatically but the the design goal of this mower is to just clip the tops of the grass, so we assume 1.5A current drain is the norm.
Lead Acid Battery
A lead acid battery gives much longer life if it is never drained more than 75% of its capacity. Assuming we need a minimum 1 hour run time, then to leave a 75% reserve would need a 1.5AH/0.25 = 6AH battery, 7AH being the nearest size. The size of such a battery would mean it will not be possible to protect it under the waterproof lid, so it would need to sit on top of the lid. This makes the mower higher and the locomotion motors need to carry the weighty battery, so may have difficulty on an incline
Charging and monitoring a lead-acid battery is very simple, we just need to monitor the battery voltage.
NiMH Battery
Another option is use a string of NiMH AA batteries. 12 batteries would give a 14.4v drive voltage and AA batteries now come with 3AH capacities. NiMH cells can be almost fully discharged so the full 3AH capacity can be used. This means we could get a 2 hour runtime from these cells, equivalent to using a 14AH lead-acid battery weighing 4Kg.
NiMH cells require more complex charging mechanisms, which is compounded by the highly variable output from a solar panel. However, having a microcontroller on-hand will make things easier!
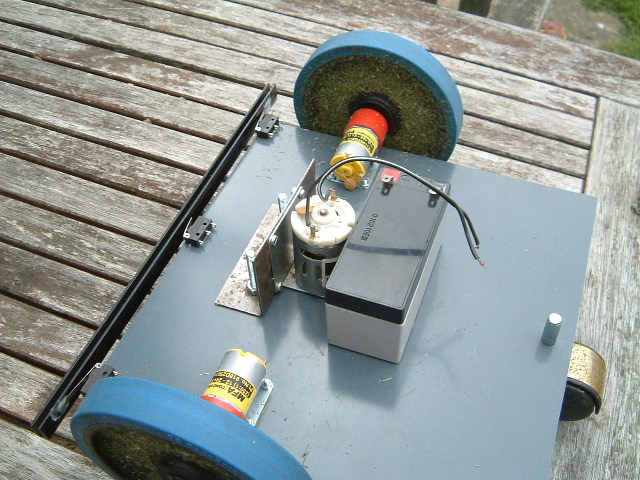
In my arsenal of batteries, I have two lead acid batteries that could be pressed into service, one being 1.2AH, one being 14AH. The 1.2AH battery will give 10 minutes of run time, not really suitable, but small enough to mount under the lid so will be ideal for testing. Once complete, the 1.2AH battery can be replaced. One option is mounting the 14AH lead battery on the lid, or put the NiMH batteries under it. The diagram below gives an indication of the amount of space I have to play with.
There is enough room to fit a 5 watt solar panel onto the mower. 10W would have been better but this would be too large for the mower footprint. In full sun, the specs of the 5W panel state that it can supply 290mA. I will make the assumption that usually we will get rather less than that, say 80mA. Also, being pessimistic, lets say there are only 8 hours of usable sunlight a day which would give 8 * 0.6 = 640mAH per day. For a 3AH cell, we requite approximately 4.5AH of charge (inefficiency) so in the worst case, we need to wait 4.5/0.64 = 7 days to recharge. This seems rather excessive so I feel, for this size of mower, a solar panel is not really practical.
The mower will therefore be charged from the mains using a standard battery charger. This simplifies the charging circuitry considerably and the arduino can monitor the battery voltage and shutdown when it falls below a threshold, to protect the batteries from over-discharge.
Power Distribution
The cutting motor and driver motors require 12-24 volts. The arduino and associated electronics require 5v. A small vero board was constructed that allowed the 12, 5 and ground distribution points to be centralized. The pull-down resistors needed for the bum switches were also included on the board. The main feed from the battery is fused as a 12 volt battery can do a lot of damage if shorted out.
Power Switch and Charger
Without the need for a solar charger, the charging mechanism becomes a socket and a DPST switch, considerably simplifying the design.
| Home | Contents | Start | Prev | 1 | 2 | 3 | 4 | 5 | 6 | 7 | 8 | 9 | Next |